Take Better Scenic & Holiday Photos
Understanding Different Light
Photography literally means “Drawing with Light”. So you can’t ignore light, if you want to take better photos!
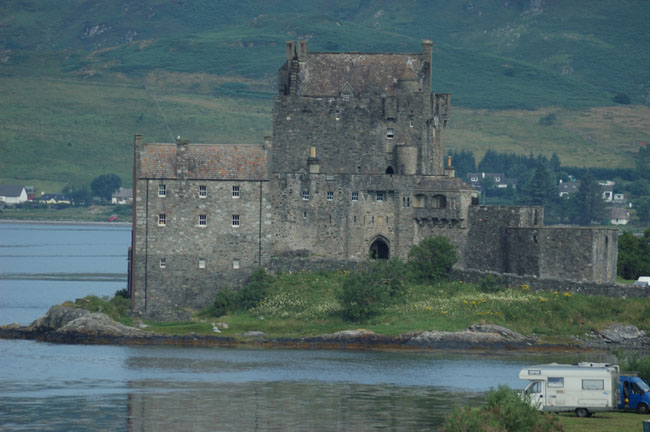
Our eyes quickly adjust to the different light (dull, bright, sunset). You may not think too much about it when enjoying a view.
But a photo is fussy about the amount of light (like Goldilocks with the temperature of her porridge!):
- Too little light, for example on a dull day – Makes everything looks flat and two dimensional.
- Too much light, for example midday in summer – Has too high contrast, the difference between shadows and lit areas is too much.
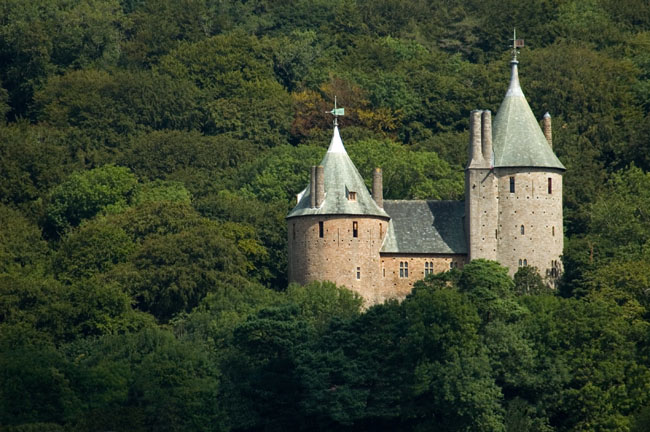
- Just right – Earlier or later in the day, or slightly cloudy. There is enough light to create some shadows, which are essential to give the idea of depth and shape, but not too much to create harsh shadows.
If you take a photo pointing towards the bright part of the sky it means you are seeing the dark side of your subject. In addition your camera will compensate for the brightness of the sky by making the whole photo darker. You will end up with a silhouette, which is fine if that is what you intended.
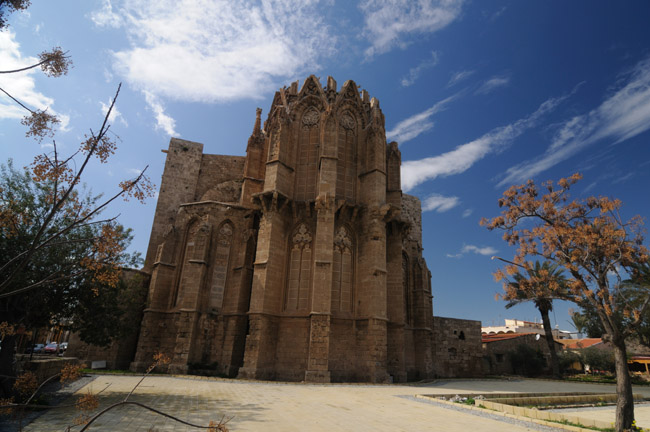
To have your subject lit nicely, you need the light to come from behind you. But not directly, as this removes all the shadows. Ideally, to get a good photo, the light should be behind either shoulder.
There isn’t too much you can do about the light! I’ve carried my camera around London for a whole day without taking a single photo, because it was so overcast.
If you have time, you can wait for patchy clouds to open up enough to light your scene.
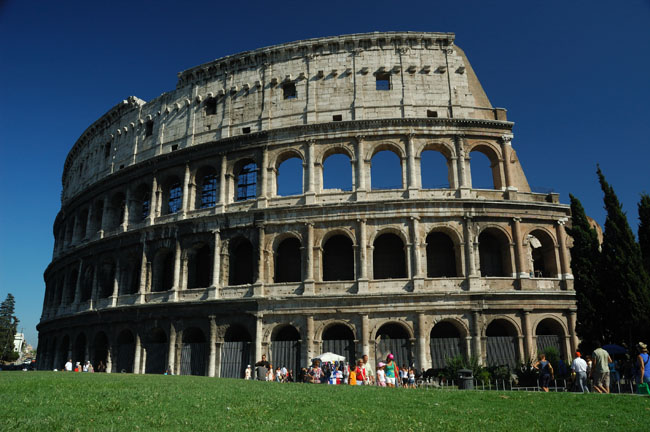
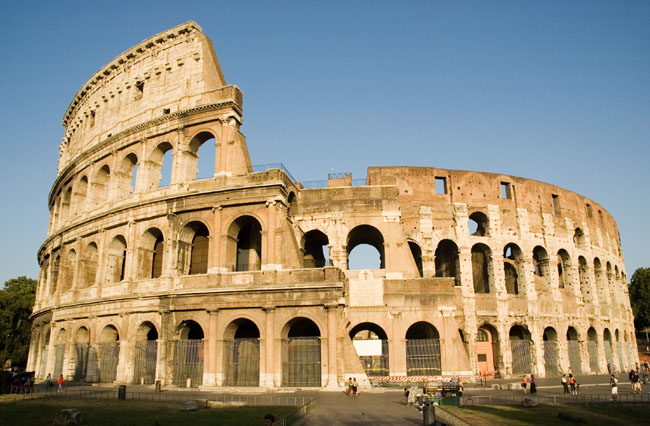
You can also plan to be at a particularly scenic location at the right time. I persuaded my family to go back and see the Colosseum in Rome in the late afternoon, when I calculated the light from the sun would be coming from the right direction.
In Summary, taking a few moments to plan your photo can make a big improvement:
- Decide what is the subject of the photo
- Choose whether landscape or portrait works best
- Work out the size and placement of your subject
- Check that the background and foreground don't spoil the photo
- Be aware of the difference light makes!
Take lots of photos to practice, but think about each one. Look at your own and other people's photos to discover the difference between a snapshot and a great photo.


